 Back
Back
Last Updated: 04/3/2025
Last Updated: 04/3/2025
Contents
Ask for an AI Summary

You can order screens to be delivered to each of your company’s locations. Hire an installer to run wires, install mounts, and connect your TVs. Teach local team members to build slides and manage local digital signage content.
But one step is harder to offload: Setting up digital media players for each location. Once each TV has a media player and is connected to a digital signage platform like ScreenCloud, it’s easy enough to hand off the maintenance of the screens to local teams. It’s equally easy to manage screens remotely as long as your media players include remote device management features.
Here’s how to quickly flash your digital signage players with the correct settings so they’re ready to go, from the first time they’re booted on your office and storefront TVs, with the ScreenCloud OS-powered Station P1 Pro or with computers including Chromeboxes and Windows PCs.
Planning for a Large Digital Signage Rollout

Your first handful of digital signage screens deployed at a single location require little planning on the software-side. You’ll need to think about location and lighting, networking and mounting. Then you’ll connect a media player to the screens. We recommend the ScreenCloud Station P1 Pro, ScreenCloud PIXI, Amazon Signage Stick or Chromecast with Google TV.
You can also install ScreenCloud’s apps on the TV’s built-in smart OS or an up-cycled PC or iOS device. Turn on the TV and media player, connect to WiFi, then enter the code on the screen in your ScreenCloud account. Perhaps 15 minutes per device to get activated. Rinse and repeat for every screen in your office.
When the network goes down or the signage slides freeze, you’ll notice it as you walk by and can always restart the device manually. And when you need to set signage content to a specific screen, it’ll be easy enough to locate it in your ScreenCloud app’s Screens tab alongside the half-dozen or so other screens you’ve deployed. Not much more is needed for smaller installations.
Now imagine deploying 5,000 screens globally across an enterprise this year. Or even imagine deploying a dozen screens across each of your business’ five local branches this month. Typing in WiFi settings and activation codes each time suddenly is a monumental task.
PCs have simplified these tasks for years with Active Directory and newer services like Intune. IT admins will flash new PCs with a custom Windows image, add devices to an Active Directory domain for network settings, or use Intune to deploy default applications and user access settings. Those same features can work for digital signage—and we’ll dig into that a bit below.
But for the simplest digital signage deployment, custom hardware built for signage means you’ll spend only minutes per device mass-deploying digital signage players.
How to flash settings to ScreenCloud OS digital signage players

We’ve built ScreenCloud OS around powering digital signage, with a custom media player that’s purpose-built for digital signage slides—and nothing else.
You can start using ScreenCloud OS in a couple minutes, tops. Unbox a ScreenCloud OS Station P1 Pro, and connect a USB mouse and keyboard. Click Start Setup, enter the date, time, and timezone, then connect to WiFi (or plug in an Ethernet cable). Then you’ll see the familiar ScreenCloud splash screen with a code to activate your screen.

Or, speed things up with USB provisioning. In ScreenCloud, click your name in the lower left corner and select Screens Manager (or click the Screens Manager button in your Screens tab). Select the USB Provisioning tab. Then enter your WiFi network name, password, and time zone, along with any other company-specific network settings including IP address, DNS server, and trusted site certificates.
With that done, click Generate Configuration, and ScreenCloud will download a scosprov.json file to your computer. Format a flash drive to FAT (ideally with no other files on the drive), copy over the scosprov.json file (and if, for some reason, your computer renamed the file, make sure to rename it back to the scosprov.json default), insert the drive into a new ScreenCloud OS device, and power it on.
ScreenCloud will then automatically copy over the settings and start the device connected to the network you picked. Seconds later you’ll see the ScreenCloud activation code screen, without typing a WiFi password into the TV.
Remove the USB drive, connect it to another ScreenCloud OS device, power it on, and repeat. You could even boot it up headless, without connecting to a TV, and let ScreenCloud OS do its magic in the background. Or, say, a sys admin in Atlanta could create the JSON file and email it to someone with zero IT experience working at a satellite office in Seattle to set up the device. In a minute or so per device, you or the local staff member will have every device ready to connect to ScreenCloud.
That gets you 90% of the way there—but what if you could at the same time connect those new screens to ScreenCloud and set their signage content?
Enter enrollment tokens.
How to automatically set content to new digital signage media players

ScreenCloud USB Provisioning tool includes one extra option that speeds up deploying screens even more: Enrollment tokens. With that, you can automatically name screens, add them to a screen group, and set the content they’ll play the first time they’re powered on. No more adding each screen’s authentication code manually.
After adding your WiFi name and password, along with any other networking details, click the Generate Enrollment Token button. Add a name, plus a screen name prefix. Each screen you add with this token will get a new incremented number, for screen-1 and screen-2 and so on. Select the space and group for these screens (or, go back to your ScreenCloud Screens dashboard, add a new group for this batch of screens, then come back to the Provisioning tool to finish setting it up). Last but not least, click Browse Content to set which content these screens should display when they’re powered on.
Save and download the provisioning file, copy it to your USB flash drive, connect it to your ScreenCloud Station P1 Pro device, and power it on. As soon as it connects to your network, it’ll show up in your ScreenCloud account with the correct name prefix, and will automatically start playing the content you selected.
That’s the easiest strategy to roll out signage across locations. Build a Provisioning profile with an enrollment token for each location, with its network details, space, screen group, and content. Or, customize further, with a different provisioning profile for different parts of the same location, if each area will have its own content.

Then unbox that location’s devices, power them on with your USB drive inserted, and once things are configured box them up and ship them to that location. A local installation team could then connect the digital signage players along with mounting the TVs, and power them on together—no software or settings work needed. Or, if your team is up for a tiny challenge, just ship unopened ScreenCloud Station P1 Pros to your other location along with a USB drive with that location’s provisioning profile. It’s one more step for the local team to plug the USB drive to each device before it starts playing content, but would save you the time of flashing each device before shipping it out.
How to remotely manage digital signage with ScreenCloud OS

You’ll then start seeing your screens come online, one after another, in your ScreenCloud Screens tab. The screen group you selected for the new screens will start filling up with screen-1 and screen-2, playing the content you’ve set them to play.

But how can you be sure what’s showing on the signage? You could ask the local team to snap a photo—a good idea, anyhow, to ensure color, brightness, and aspect ratio settings are all good. And along with that, you can also check in on the content playing anytime from ScreenCloud’s remote device management (RDM) console.

From the Screens Manager screen, you’ll see a third tab for Remote Device Management. Click that, and you’ll see a list of every ScreenCloud OS device you’ve provisioned. There, you can see what’s playing now, take a remote screenshot of the device, flush its cache, restart it, change its network, and more. There’s other data too, including free RAM, operating temperature, uptime, aspect ratio, and much more. You can also get a simplified version of those options right from ScreenCloud’s Screens tab, for an easy way to keep an eye on your devices. If anything happens to your ScreenCloud devices, you can remove them from your account so they will default to a setup screen the next time they boot instead of showing your content.
And, as with any other ScreenCloud screen, you can push new slides, apps, playlists, and channels to your screens anytime—or update them all at once from the screen group you’ve selected.
Bulk deploy digital signage throughout your enterprise
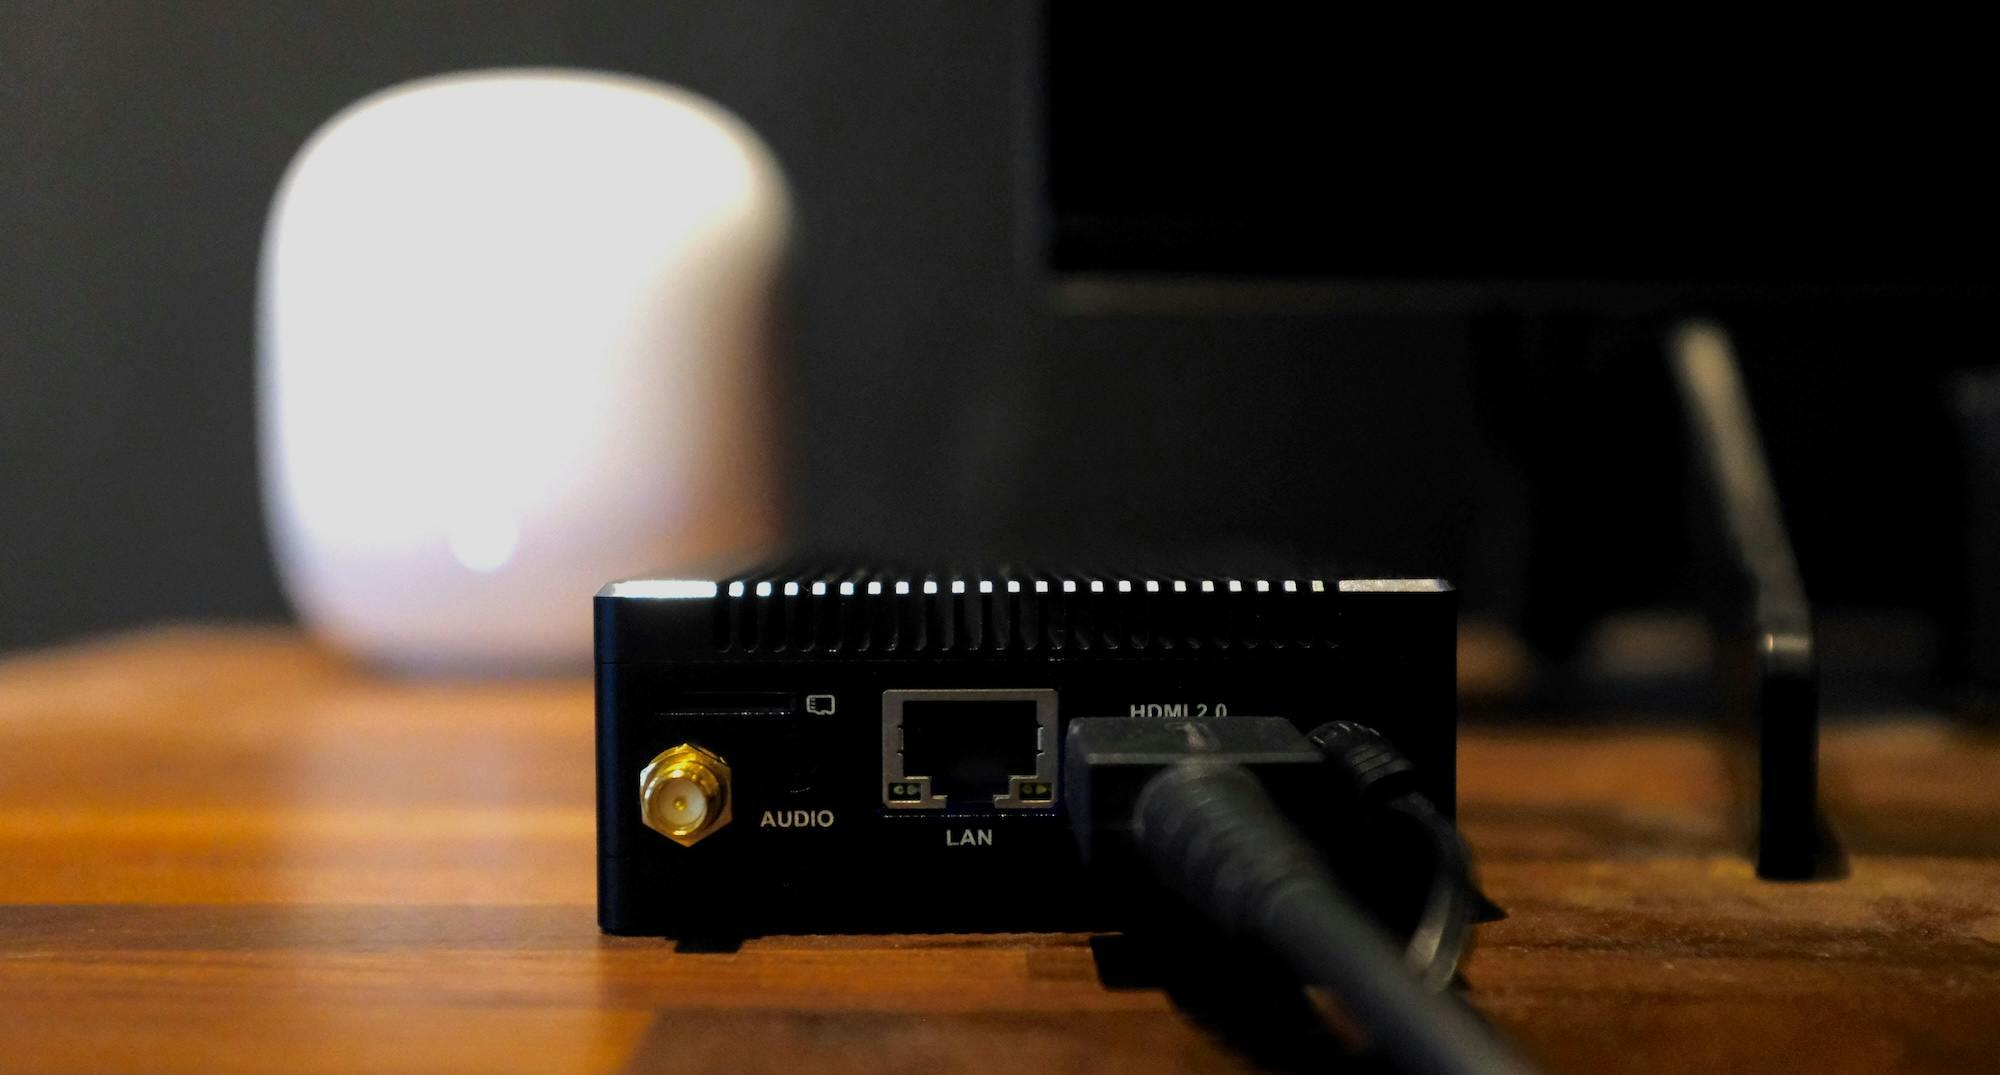
ScreenCloud OS includes one of the simplest ways to set up digital signage players and deploy them to all of your company’s offices, stores, factories, and other locations. But that’s not the only way to bulk deploy signage. If you’re using Chromeboxes to power signage, you can use ChromeOS Kiosk Mode to deploy the ScreenCloud player and set it to run by default on all of your screens.
Similar MDM features in Windows Intune let you set ScreenCloud’s Windows player to install on your PC-powered signage, or if you’re using thin clients to power signage you can duplicate the same Windows virtual machine to spin up signage quickly. Each of those setups will still require you to add the activation code to ScreenCloud and setting content manually, but you’ll save the time of installing and setting up signage players.
If your company’s deploying your first signage and isn’t using ScreenCloud yet, sign up for a free 14-day ScreenCloud trial for your first digital signage pilot. Then, when you’re ready to start rolling out signage across your company, order ScreenCloud Station P1 Pro devices for each of your screens, build a USB provisioning stick, and start deploying signage across your company without needing to enter WiFi details and access codes for each screen. It’s the easy way to make signage a core part of your company’s communications strategy.